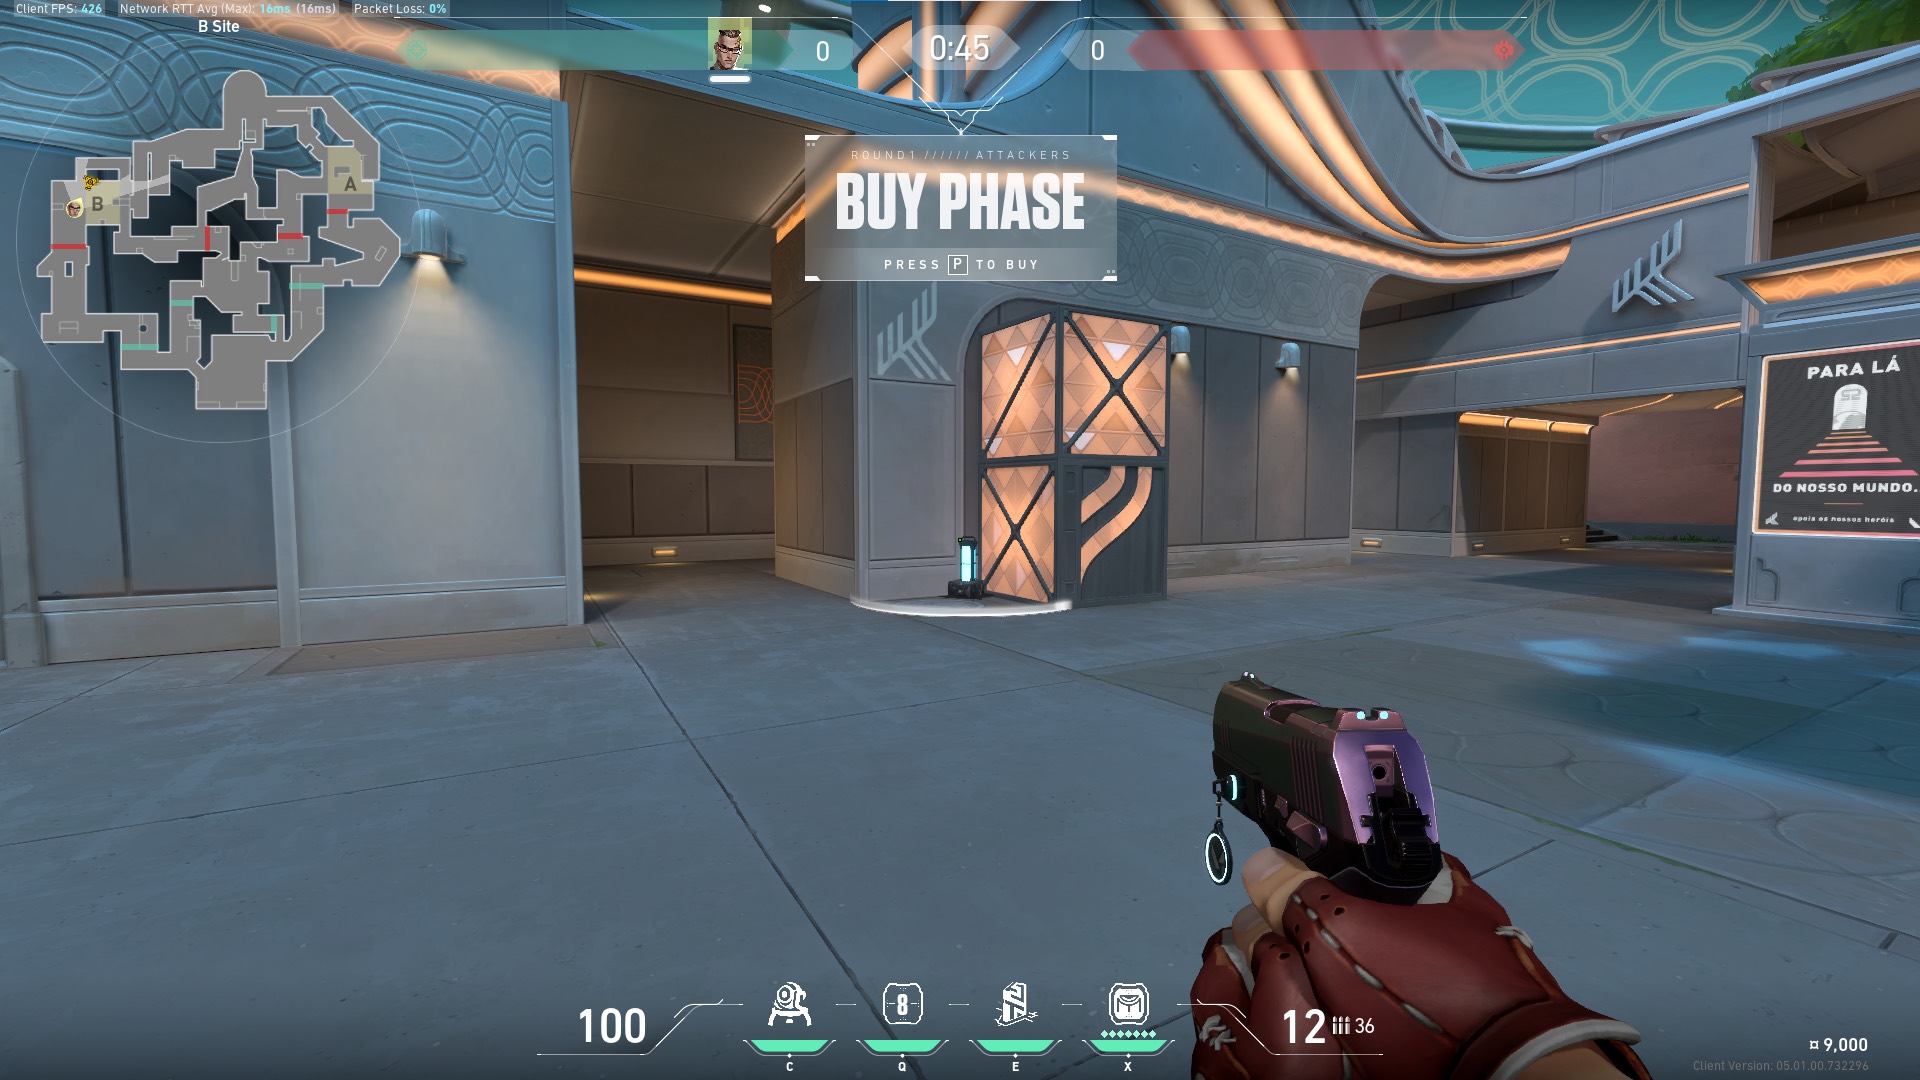
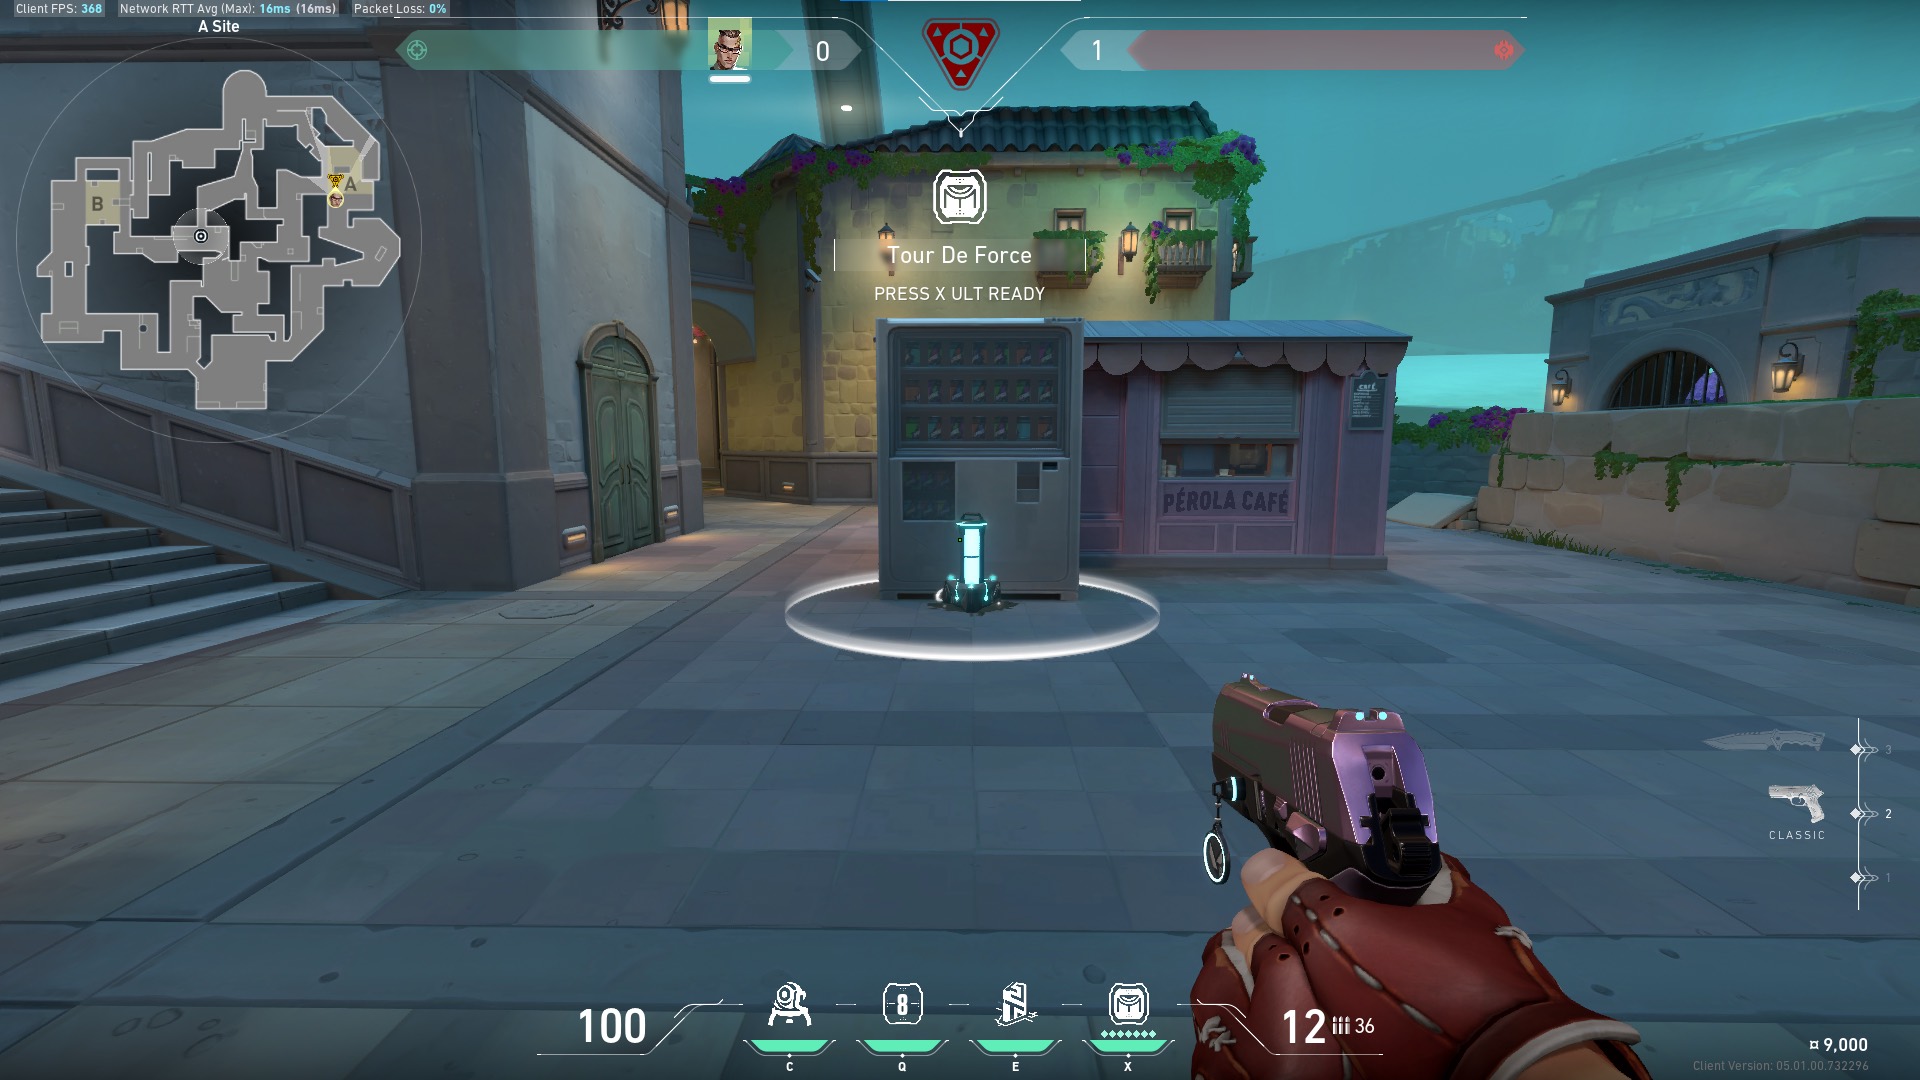
VALORANT’s latest map Pearl has officially been added to competitive queues. Many players are still trying to get a read on the map and how it’s played. This guide should help players understand Pearl and some basic strategies to play the map at a higher level.
Jovanni “Jovi” Vera is a professional VALORANT coach and analyst; he’s worked with top-level teams like 100 Thieves and, most recently, OpTic Gaming. Jovi spoke to Upcomer to help build out this comprehensive guide for anyone trying to play Pearl like a pro.
Team compositions
According to Jovi, Pearl is a map that’s wide open in terms of team composition. Almost every agent is competitively viable — though some, like Jett and Killjoy may not offer the most value. Even fringe picks like Phoenix and Yoru are solid choices. The map has a good mix of close corridors, long angles and verticality that lets every agent fulfill their niche.
With that said, these are some of the stronger agents in each position according to Jovi.
- Controller: Omen, Astra
- Duelists: Raze, Neon, Phoenix
- Sentinel: Chamber, Sage, Cypher
- Initiator: Fade, Kay/O
Here is an example of one strong Pearl comp: Omen/Astra, Cypher, Kay/O, Neon, Chamber
These are just suggestions. Jovi pointed out that almost any agent can work as long as it’s in the right composition. For example, Neon pairs well with Kay/O, while another duelist like Raze might be better with Skye. It’s all about putting the right pieces together.
Defense side
According to Jovi, Pearl is about controlling mid. From a Defense standpoint, that might mean your default set-up involves one A Site player, three players around Mid Plaza on the A Art and B Link areas of the map and one B Site anchor. You can also select one player to float between A, mid and B as needed to mix things up.
On B Site, you’ll want to place agents like Chamber, Sage or even your controller. Chamber is great because he can hold aggressive angles with an Operator or his Tour De Force and then teleport to safety. Sage is able to wall off all of B Main if necessary. This B player will often be the anchor trying to gather information and slowing down a B execute.

Mid Plaza will be where a lot of the action takes place. You’ll usually want your duelists or initiators around A Art and B Link so they can work together to fight middle if they so choose. It’s pivotal that you don’t concede total Art and Link control because it opens up the Spike Sites to getting executed on from multiple angles.
Lastly, A Site will usually be the domain of a sentinel or controller who can muddy up executes with their utility. A Site is a little bit easier to re-take as defenders so don’t be afraid to give up the plant. You’ll want to hold on to control on the back of the site by maintaining presence A Dugout, A Secret and A Flowers.
Attack side
Just like on Defense, attackers will generally want to set up a 1-3-1 default that puts a lot of pressure on Mid Plaza. Jovi recommended putting an agent like Omen towards B so that they can gather information. Omen can also use smokes to deny info at B Main. Someone like Cypher can head to A Main to contest orb control and even pop his camera into A Art to help out his teammates going mid.
The three agents going mid should have some initiators or duelists that can flash and push their way into Art and B Link. Getting deeper control into B Link is incredibly potent, especially if you have a sentinel like Chamber to leave a trip behind. This will help get info about rotations.

The bread-and-butter execute on Pearl will probably be a split onto A through both Art and A Main. You’ll want a heavy presence in Art so that you can really pressure A Site from multiple angles. The same is true of going B Site through both B Main and B Link.
Tips & tricks
- Try playing slow. Especially at the highest level of VALORANT, Jovi said that Pearl is a map that he feels benefits slow, methodical map control instead of rushing headlong into action every round.
- Fade and KAY/O are two agents where it will be important to learn your lineups early. Gathering info in the middle part of the map will be incredibly powerful.
- B Hall control will be super important territory to control during attacks and site re-takes.
- The two photos below give extremely strong Spike plants if you can safely get them down. On B, attackers will mostly want to fall back toward B Main to keep an eye on the Spike. On A, attackers will want to split up between the site, A Main and A Art to keep on eye on the defuse.


- A Site has some spam-able walls that can be extremely helpful for defenders in the back of the site to maintain pressure on the attackers
- Don’t be afraid to lurk! Pearl is a great map to leave a lurker to try to gather info and slip into the enemy’s backlines.


Published: Jul 31, 2022 12:55 pm