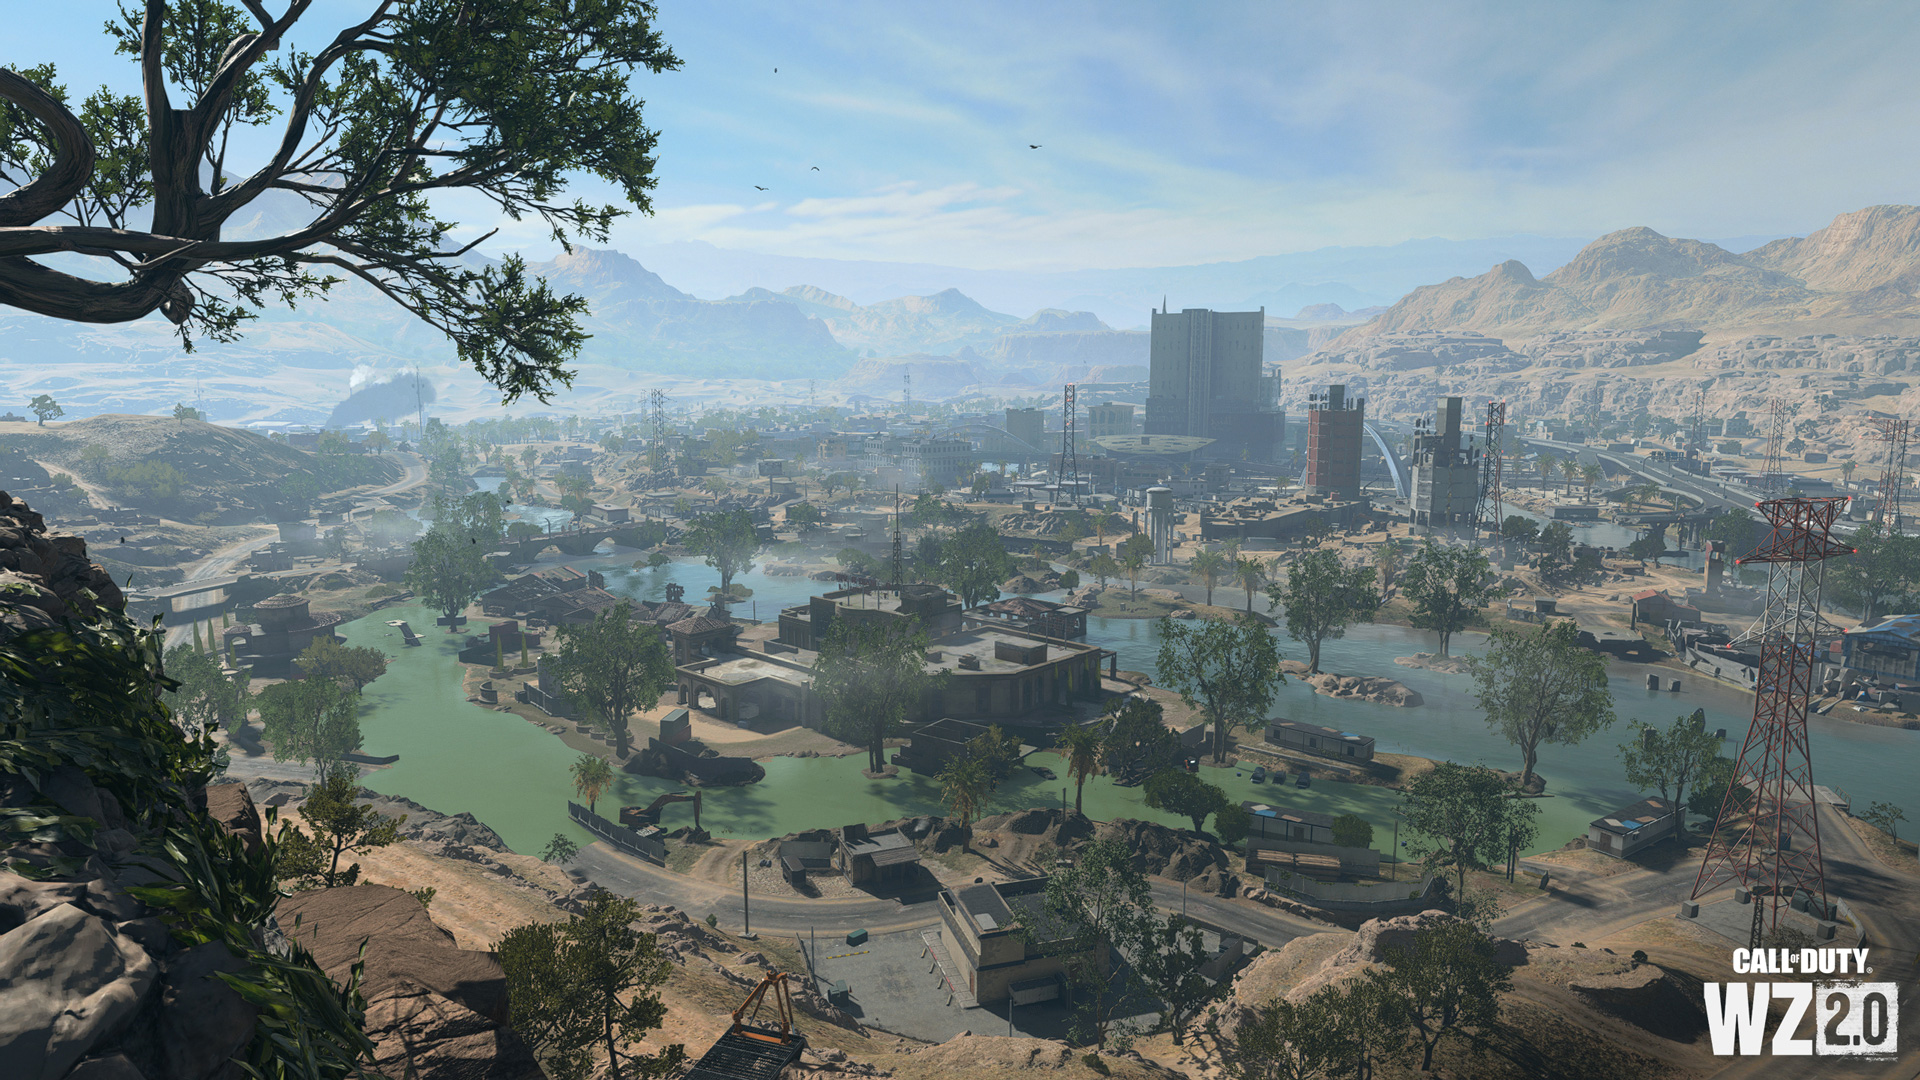
There are several settings menus that players will want to navigate and make adjustments to in Call of Duty: Warzone 2. However, for PC players, arguably the most important menu to change is the Graphics settings. These settings have a drastic effect on how a player’s game runs and looks, both of which are vital to enhance a player’s experience in-game. Although, both new and veteran players might have some trouble determining what Graphics settings to change in Warzone 2. That’s where we can come in and help.
Below, we’ll list all of the Graphics settings in Warzone 2 and what our recommended setting for each is. These settings aim to increase frames per second while keeping graphical fidelity high.
Best Graphics settings to use in Warzone 2
These settings will be split up by the category they fall under within the Graphics settings. To find these settings, press “Options” on your controller and scroll over to settings, or simply click the top-right menu with your mouse.
Display
- Display Mode: Fullscreen Exclusive/Borderless
- Display Monitor: Your main monitor
- Display Adaptor: Your primary graphics card
- Screen Refresh Rate: The highest refresh rate of your main monitor
- Display Resolution: Your monitor’s highest resolution, but 1920x1080p offers the best performance
- Dynamic Resolution: Off
- Aspect Ratio: Automatic
- V-Sync (Gameplay): Off
- V-Sync (Menus): Off
- Custom Framerate Limit: Unlimited
- Gameplay Custom Framerate Limit: Unlimited
- Menu Custom Framerate Limit: 60
- Minimized Game Custom Framerate Limit: 30
- Display Gamma: 2.2 (sRGB)
- Brightness: Player preference, but somewhere between 60-70 is recommended
- Focused Mode: Off
Global Quality
- Quality Presets: Custom
- Render Resolution: 100
- Upscaling / Sharpening: Fidelity CAS
- AMD Fideltity CAS Strength: 80-90
- Anti-Aliasing: Filmic SMAA T2X
- Anti-Aliasing Quality: Normal
- Video Memory Scale: 90
Related: Best Warzone 2 Mouse and Keyboard settings on Attack of the Fanboy.
Details & Textures
- Texture Resolution: Medium
- Texture Filter Anisotropic: Medium
- Nearby Level of Detail: Low
- Distant Level of Detail: Low
- Particle Quality: High
- Bullet Impacts & Sprays: On
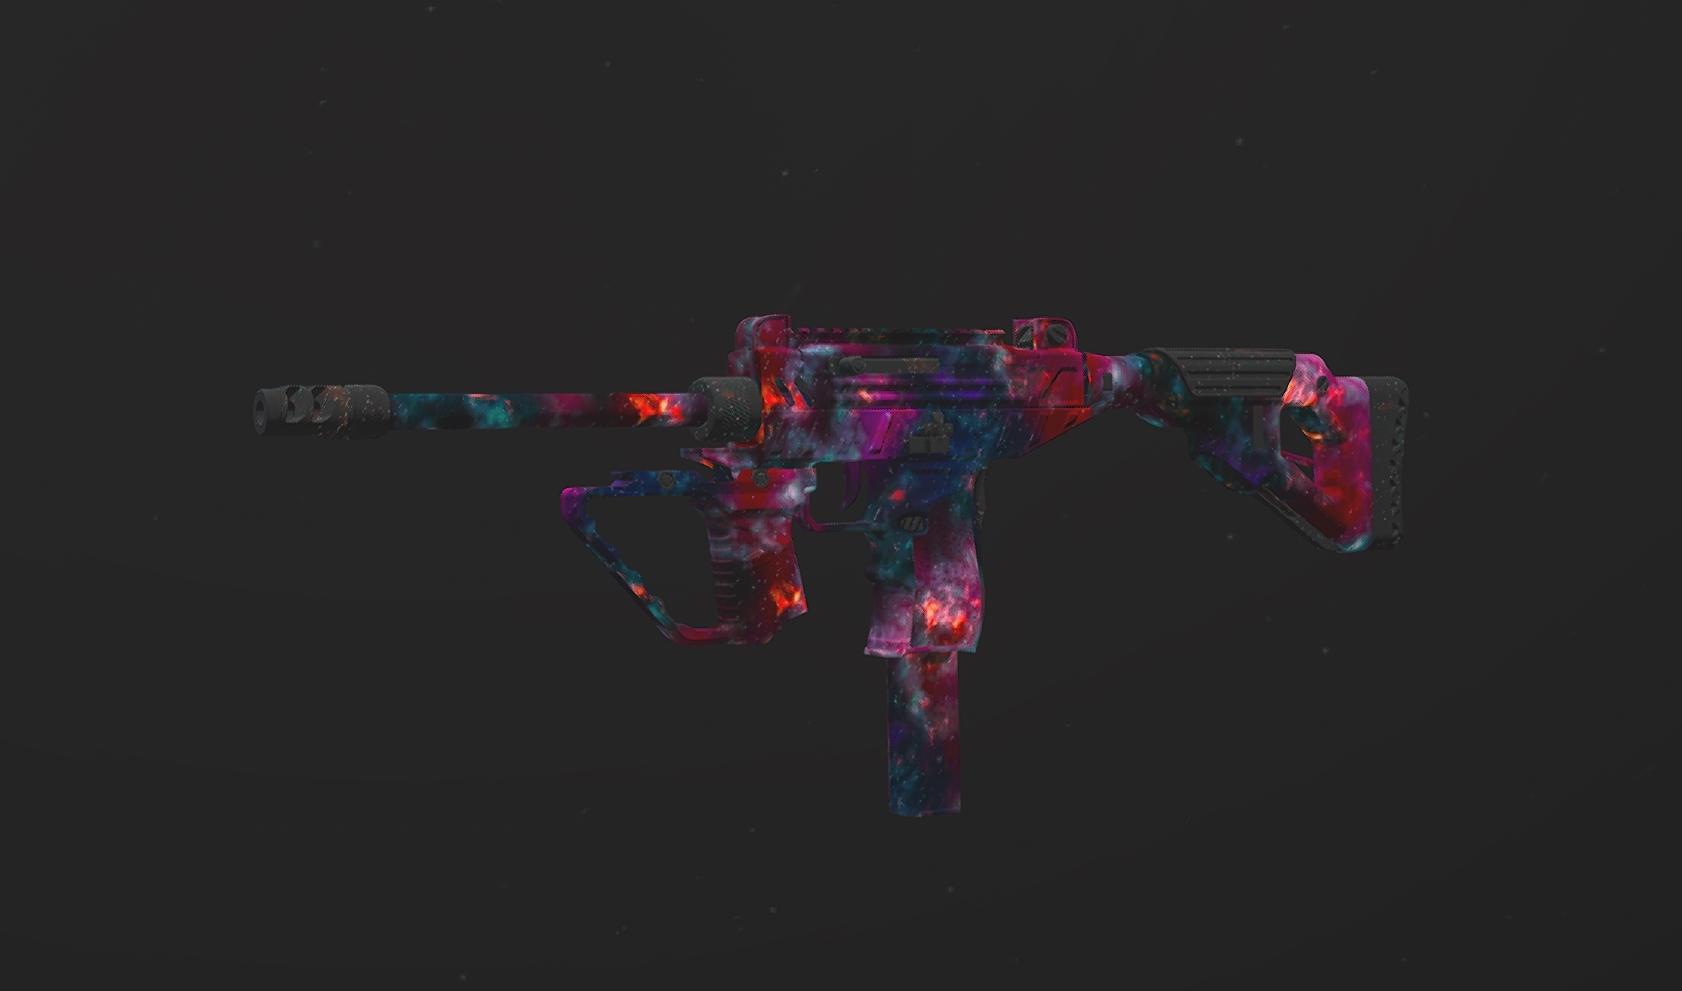
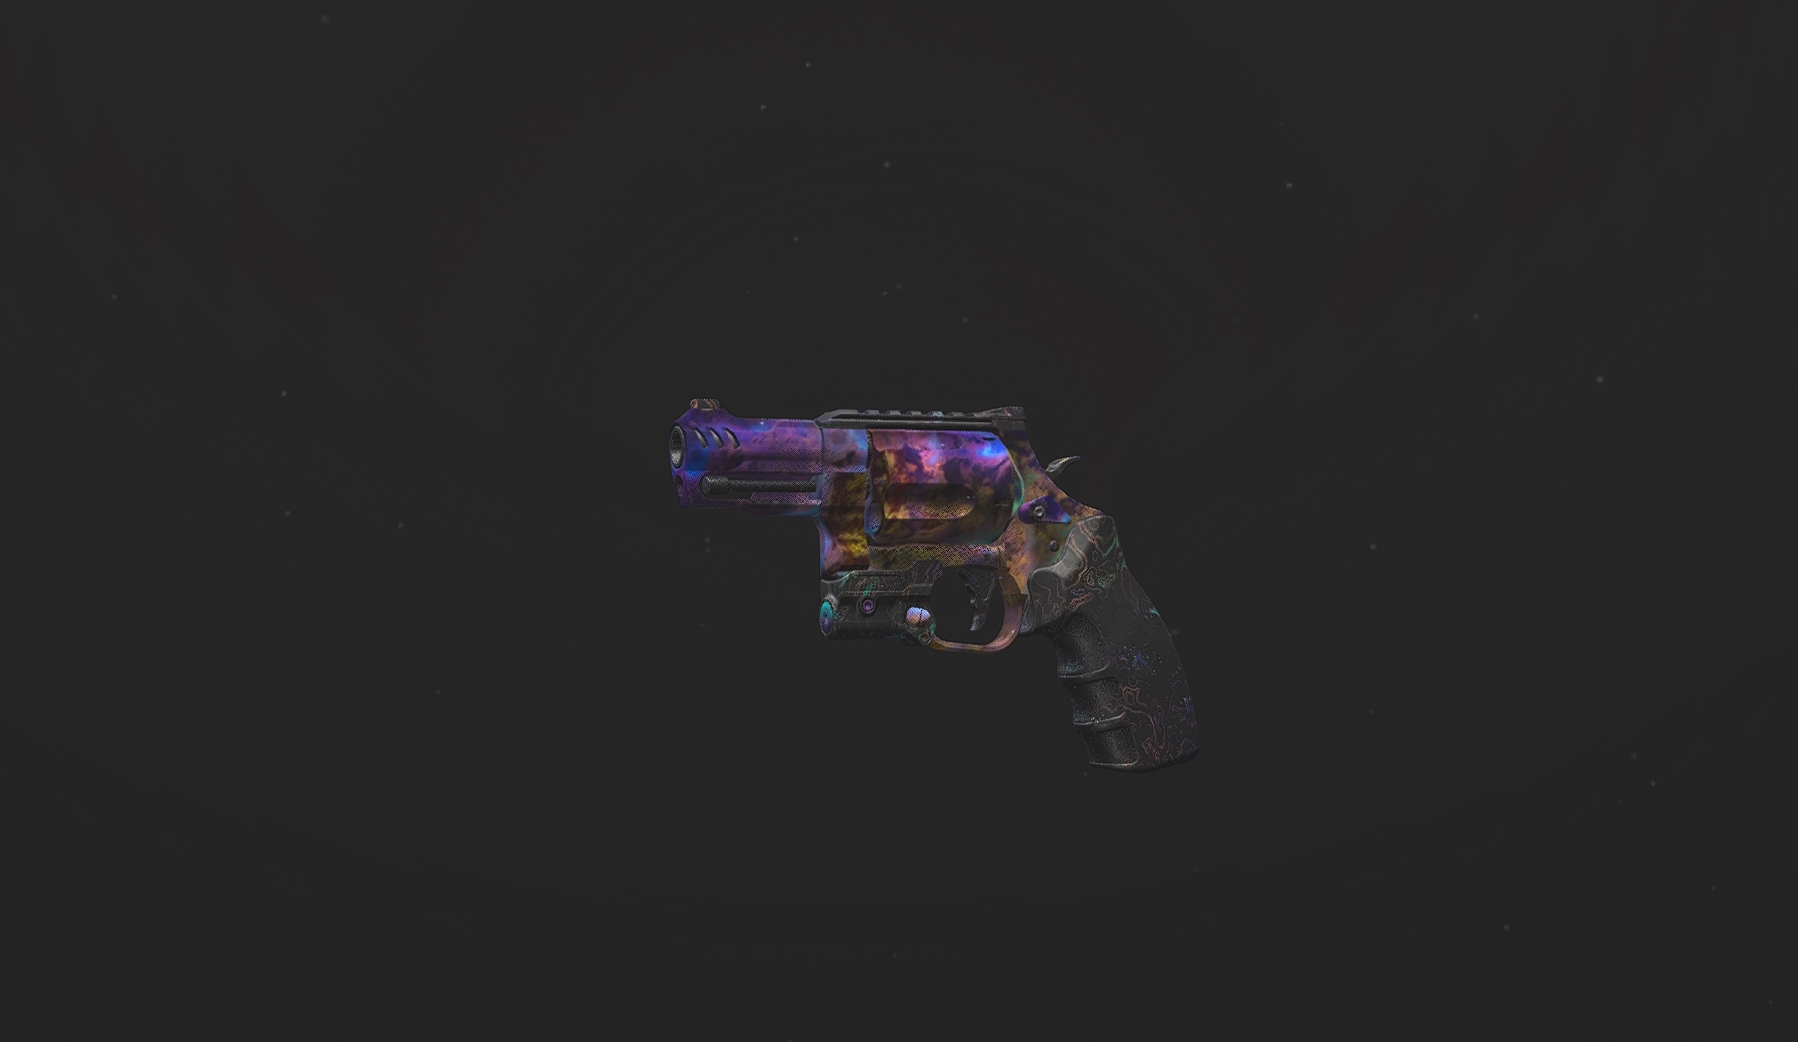
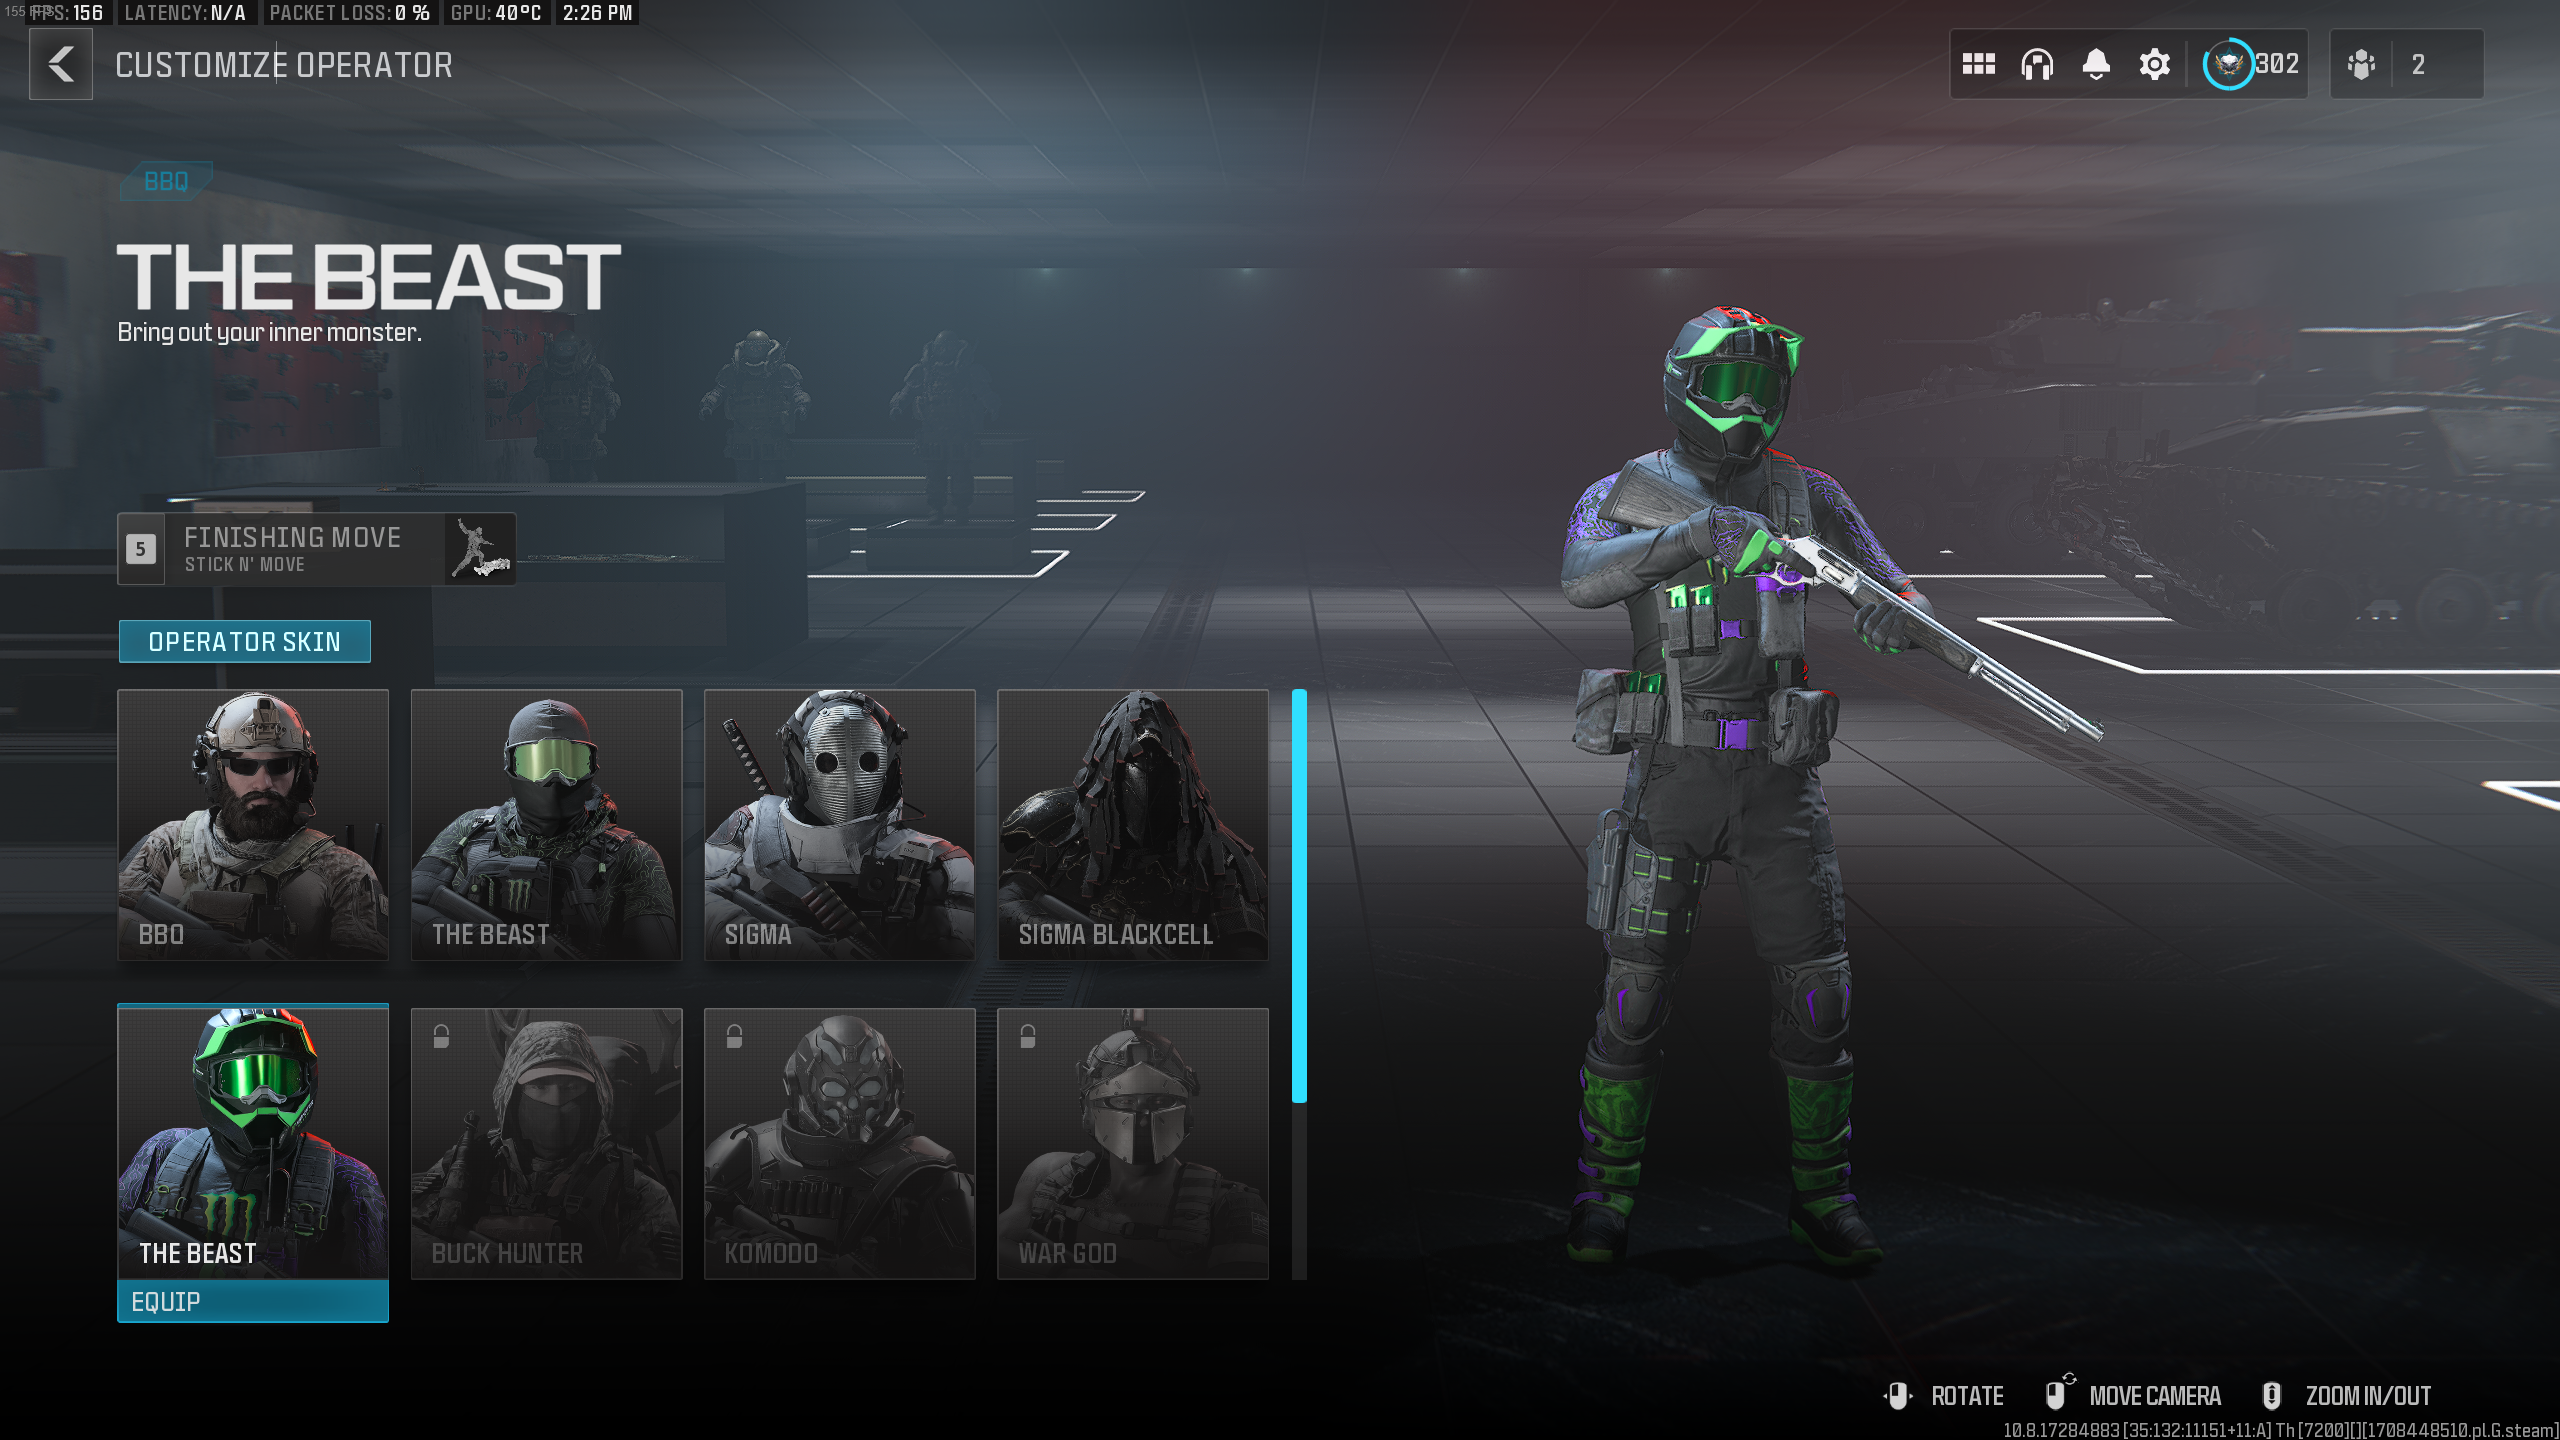
- Shader Quality: High (To make weapon camos more vibrant)
- Tessellation: Off
- On-Demand Texture Streaming: Off
- Streaming Quality: Low
- Volumetric Quality: Low
- Deferred Physics Quality: Off
- Water Caustics: Off
Shadow & Lighting
- Shadow Map Resolution: Very Low
- Screen Space Shadows: Off
- Spot Shadow Quality: Low
- Spot Cache: High (To reduce stutters)
- Particle Lighting: Normal
- Ambient Occlusion: Off
Post Processing Effects
- NVIDIA Reflex Low Latency: On (or On + Boost if you’re CPU bound)
- Depth of Field: Off
- World Motion Blur: Off
- Weapon Motion Blur: Off
- Film Grain: 0.00
With these settings, players should see a slight bump to their FPS. Their game should also look roughly the same in terms of visuals. Our settings also include possible fixes to stuttering and weapon camos looking dull, especially Gold. However, if players don’t care about how their game looks, they can reduce most of the settings to their lowest value. We suggest leaving both Shader Quality and Spot Cache on their recommended value, though.


Published: Nov 28, 2022 12:14 pm