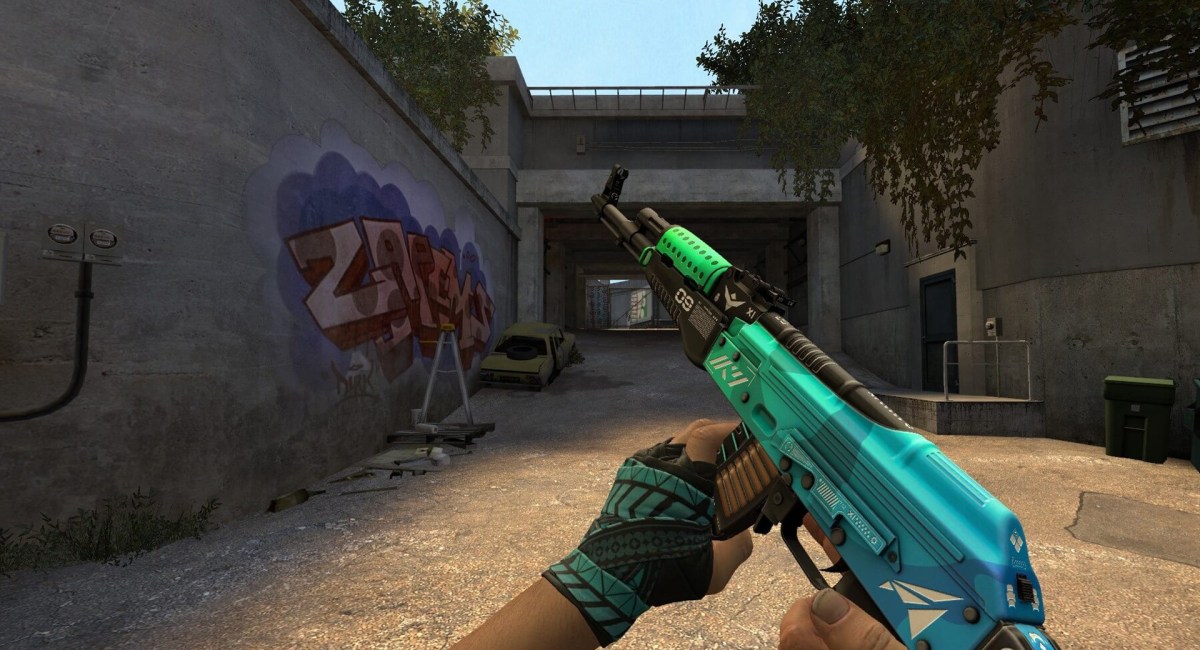
Counter-Strike: Global Offensive (CSGO) is a game that offers tremendous amounts of customization. From custom crosshairs to customizable HUDs and video settings, CSGO allows users to tailor their in-game experience. While a large number of game adjustments can be made from the menu, a significant portion is done by inputting specific commands. Unless a user has set up their custom configuration files, when he or she opens the game they will need to input their commands every single time. A custom configuration file (cfg), or autoexec, can solve this.
What is a custom config/autoexec?
A cfg or autoexec is a personal file where all of a user’s preferred game settings such as buy binds, jump binds, and crosshair settings are stored. Once created, a user can “override” CSGO‘s default config and have their own file booted at the start of the game. Furthermore, keeping a cfg file saved to a PIN drive or cloud service means that a player can take their settings anywhere and install them easily onto any computer.
Cfg files are extremely popular in the competitive scene. Players at every level of competition are known to develop their personal config. The neat aspect of cfgs is that because they’re easy to upload, many professional players make their personal settings available to the public and are free to use.
Making and using a cfg/autoexec file
Creating an autoexec file is relatively easy. First, it’s recommended that autoexec files are created using Notepad++ because they can be easily edited. Notepad++ is a safe, non-invasive program, free for download. Once Notepad++ is installed, follow the steps below to set up an autoexec file.
1. Access the CSGO cfg on your computer. The path should look similar to Windows(C:) > Program Files (x86) > Steam > userdata > (your own numbers) > (your own 3 digit file) > local > cfg. Once you’ve found your cfg folder, you’ll see several files similar to the ones in the image below.

2. Right-click anywhere in the window and click “New” > “Text Document.” This will create a blank file; title your new file “autoexec.cfg”.
3. Double-click your new autoexec file and fill it with your preferred commands. What will be inside the file is completely up to preference. However, the most common competitive commands are jump binds, buy binds, and crosshairs. An example of a complete jump bind, max frames per second, sensitivity, and 128 tick server enforce can be seen in the screenshot below.

4. Once you’re done filling the autoexec with your desired commands click “File” > “Save As” > “autoexec” and save under “All Files.”
Your autoexec file is now ready for use. You’ll notice that your original config file is still in the folder. You could delete the file, but keeping it there won’t do any harm either.
Setting CSGO to launch your autoexec
However, you’re not done just yet! Now that your autoexec is written, you’ll need to make sure that the game actually launches it when you start the game.
5. Open Steam and access the game library on the left-hand side.
6. Right-click on CSGO and click “Properties.”
7. Click “Set Launch Options.”
8. Type “+exec autoexec” and then click “OK.”

Now that you’ve set your game launch options, start your game and enjoy CSGO with your new custom CSGO settings!


Published: Mar 16, 2020 03:48 pm